Sunday, August 17, 2014

Closet Makeover

I needed some organization in my life, so I decided to add a few things to my master bedroom closet.
I'm feeling much more organized now, and it looks cute, so I'm happy with it! I got the white cubical storage shelves from target. The fabric bins/basket are also from Target. The candle holder, the owl (which I put my eye pencils in), and the bracelet holder came from Michael's craft store. The tiered desert stand came from Hobby lobby, and that is what I have my nail polish displayed on. The mirrored box came from hobby lobby as well. I have had the necklace holder that is hanging on the wall for years. It is actually an antique, and works great! I spray painted it silver. I used shower curtain hooks to hang extra purses, scarves and belts from the top of the wire shelf. So far, this set up is working really well for me!

Mud Room/Laundry Room Transformation

I decided I wanted to make our laundry room/mud room more functional, and a little more "pretty." Sooo we started the transformation. It is not yet complete, but getting close! Here is the Before (I didn't snap a true before when the closet was still just a boring closet....this is the before the shelving was installed, but after painting had taken place)
And After...
We are still going to add a bench with separate slots for shoes, and I'm going to make a nice cushion and add some pillows. My brother made the shelf for me. We added the hooks from Hobby Lobby. I got the mirrors from TJ MAXX and the rug is from TJ MAXX as well. The baskets are from Target. I LOVE how it turned out :) On the Laundry side, I got the letters from Hobby Lobby. I bought scrap paper in various colors and designs. I traced the letters onto the scrap paper, and cut them out. I then mod podged the scrap paper to the Letters. I hung them to the wall with command strips. My mom gave the old window...I haven't quite decided what to do with it yet. I might add some pictures or something. So far, I'm loving my new laundry room. We are also going to be adding a small chandelier to replace the light fixture.

Tracy Bridal Shower

My friend, Niki, got married yesterday! I hosted a bridal shower for her a few weeks prior. Her wedding theme colors were orange and blue (U of I Colors). I chose to use just the orange portion of the wedding colors for her shower.
We used mason jars with paper straws for drinks. I tied an orange piece of burlap ribbon around the mouth of the jar to add some color. The Plates and napkins were from party city. I got the table cloths from efavormart and I sewed the runners myself. The fabric came from Hobby Lobby. The umbrellas are a part of the Spring collection at Hobby Lobby (on clearance) as well as the orange pots with large green topiary.
I made the mantel sign with scrap paper and added the chip board sticky letters. I bought the clothespins from Michael's.
I made this chalkboard myself. I use it for all different events and parties. My mom had this antique frame and I knew I could do something with it. I added just a plane board to the back of the frame, and painted it with chalkboard spray paint. I also got the candle holder from my mom. (She is always bringing me really great stuff from her antique shop) I spray painted it, and added some chandelier crystals to it. I then added orange candles to match our theme.
I made this wreath, which doubled as a gift to the bride. I started with just a foam wreath mold. I covered it with burlap ribbon. I spray painted the letter T and hot glued it to the wreath. It was so easy, and she loved it!
I made this sign out of a foam presentation board. I used chalkboard markers, and added the burlap bow. I placed this sign by the front door so people would know where the party was.
The bride to be was happy with her shower!

Sunday, January 26, 2014

Halloween 2013

Besides Christmas, my other favorite holiday to decorate for is HALLOWEEN! My Halloween decor is starting to come together in my house. Here are just a few of my favorites!
The Mantel is always fun to change up for the seasons. I have found all of my Halloween decorations at Gordman's, Hobby Lobby, and Michael's for the most part. They are a compilation resulted from many years of 50 percent off shopping sprees the day after Halloween. (I can't wait to share all my new stuff from my big shopping day next year!) Isn't that the best looking Iron Man EVER?
This Iron Man and Storm Shaddow are showing off their best poses on the tulle decorated stairway. Michael's has these really "pretty" jeweled spiders that I can't get enough of!!
I made the wreath last year using a foam round wreath, and yarn. All I did was wrap the yarn around it over and over until it was all covered. I added one of my favorite jeweled spiders from Michael's Craft store. I bought fake pumpkins from Hobby Lobby, and glued them together with that E6000 glue. I then placed them on top of a set of planters I use for every season.
This is the full view of our porch. I used cheese cloth to make a spider web, and then added that cotton web stuff to it. I found the giant sparkly spider at Wal-Mart. I painted our house number and our Last name on the fake white pumpkins on the porch table. I have so many more Halloween decorations to share, but did not take any pics this year. I will post all of the nitty gritty details next year!

Lego Birthday Party

My son is TEN years old, and we decided to have a big bash to celebrate his entrance into the double digits.
The Invitations were a pain-staking process. I had to hole punch each individual circle for the Legos, and cut out all of the little rectangles. It took several days to complete them. I used real Legos as a guide, which made the process a bit easier.
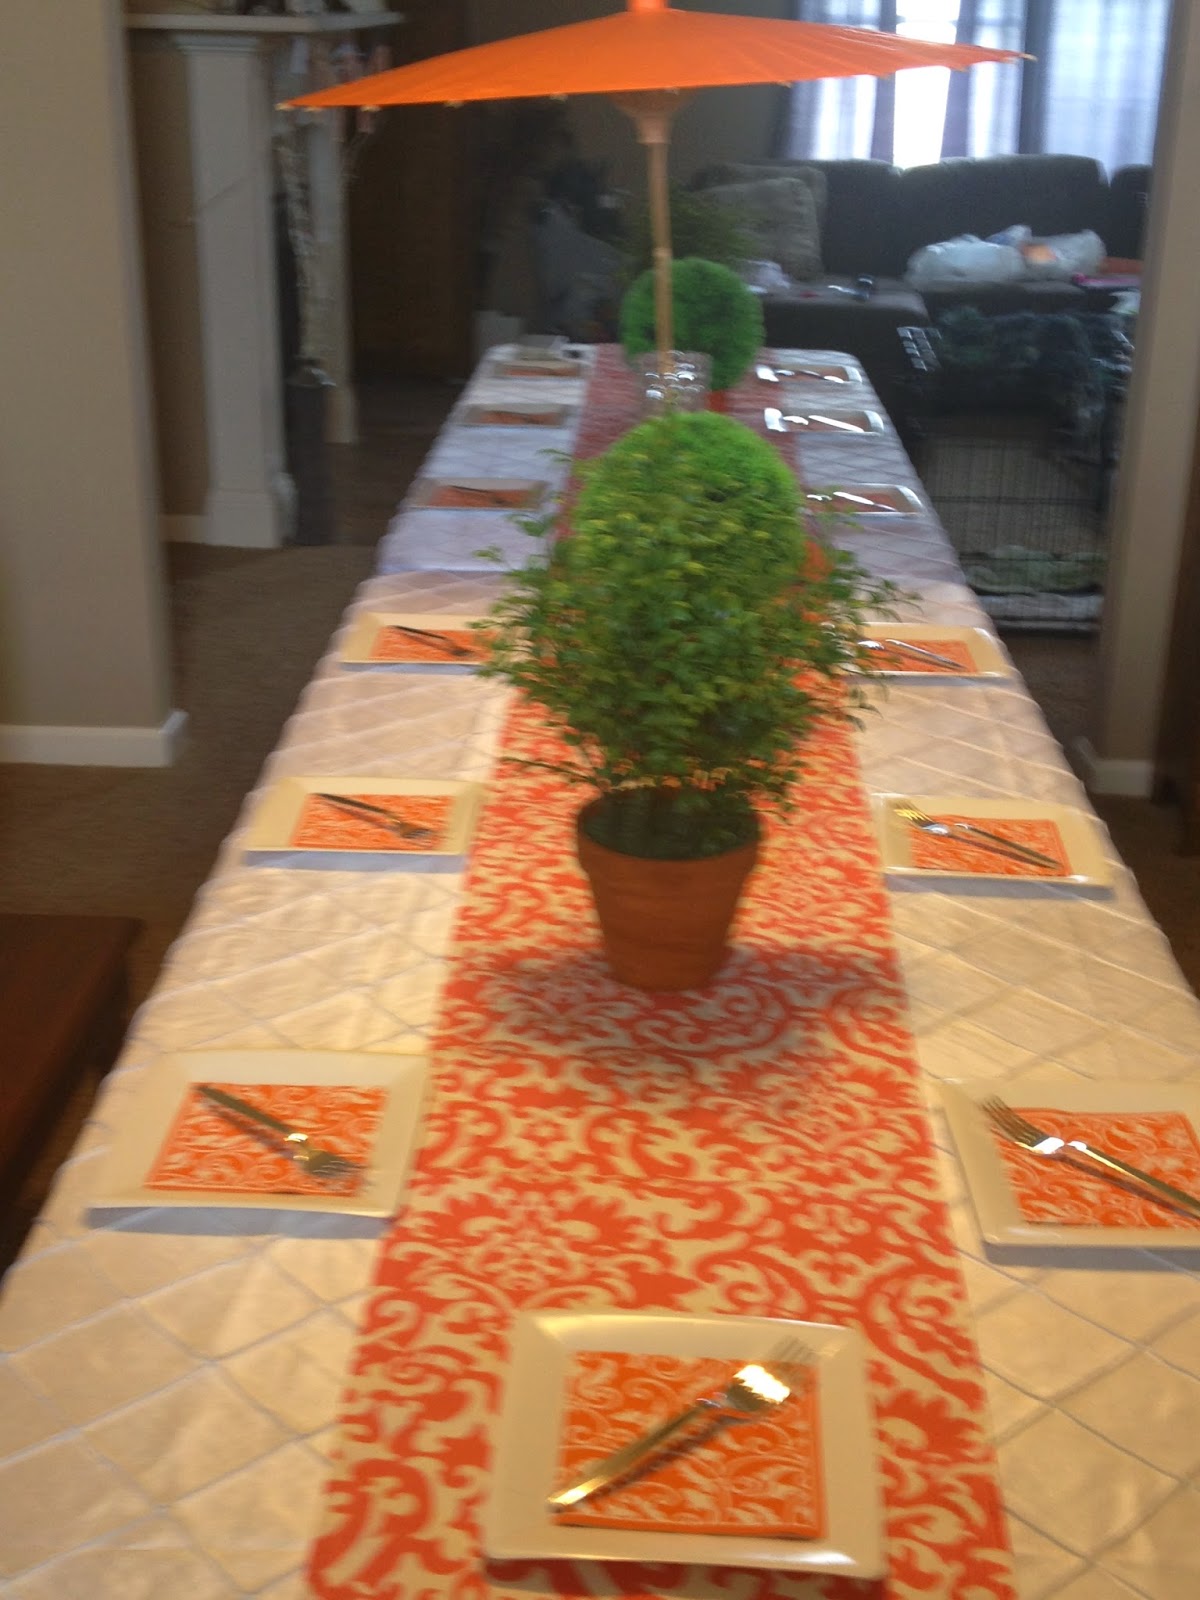
The main table was fun, cheap, and easy to put together. I used the Legos we already had (my sons have thousands of them). I created a cake stand myself from the Legos in our color theme. (I later discovered it wasn't quite sturdy enough for our cake, so I just added it as a centerpiece to the table). I used glass centerpiece votive holders that I already had and filled them with Legos. I then used some party straws and scrap paper to make the centerpieces complete. I got the paper dinner plates and dessert plates from Wal-Mart. I always like to do plastic ware bundles and tie them with ribbon for a nice little detailed touch.
I added streamers to the wall above the fireplace, and Love how that turned out. The Lego "Marshall" banner was made from card stock. I got a large hole punch and used 3D scrap stickers to make them look like legos. I punched holes in the top of each one and threaded the ribbon. I got the party paper balls (i don't know what you call them) from Hobby Lobby. I wrapped some empty boxes I had around the house with wrapping paper, and cut out circles (used a plastic cup as a stencil), and voila, you have giant Legos.
More gift boxes wrapped in paper for a coffee table centerpiece.
The wreath hung on the front door (I didn't take the pic outside because it was cold and snowy that day!). I bought a foam wreath from Hobby Lobby and wrapped it with yarn. I also got the wooden number "10" from Hobby Lobby, and wrapped them with Yarn as well Some foam scrapbook letters to spell out the birthday boy's name, and some party fans finished off the birthday wreath quite nicely.
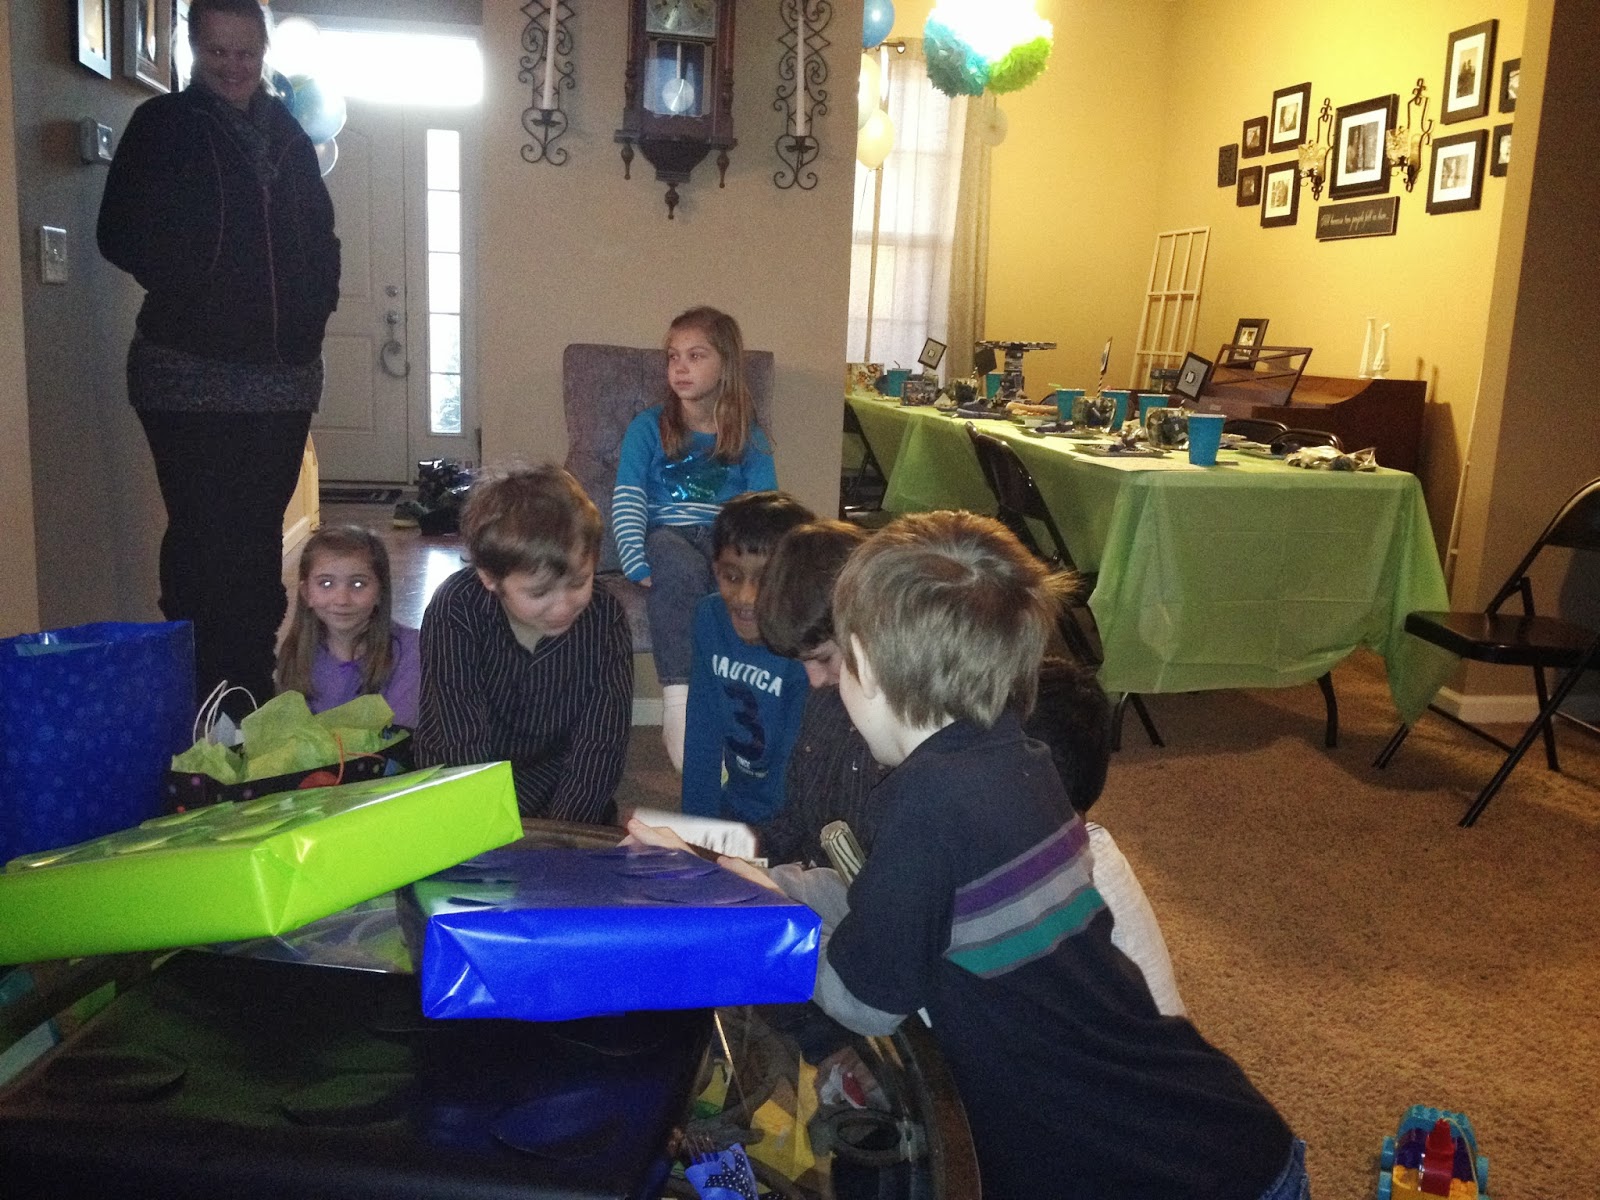
The gift table was a big hit with the kids. We played Lego Bingo, pin the head on the Lego guy, and guess how many legos are in the jar. (I don't currently have pics of these activities, but I'm sure some will surface). I made the party favor bags with card stock, and white craft bags purchased from Hobby Lobby. I ended up tying a balloon to each one later on.
No birthday party is complete without an awesome birthday cake!!
Presents....
And AWESOME friends!!